Construction Invoice Template | Word, Excel & PDF Format
Last Updated on January 27, 2025
A construction invoice is used for billing customers in the construction industry, whether for residential, commercial, or property projects. It provides a clear breakdown of expenses, including labor, materials, and other costs, making it easier for clients to understand each charge. This document is crucial for managing project details, ensuring accurate billing, and maintaining clear communication between contractors and clients. Whether you’re handling a small repair or a large building project, it ensures a smooth billing process while enhancing trust and transparency with clients.
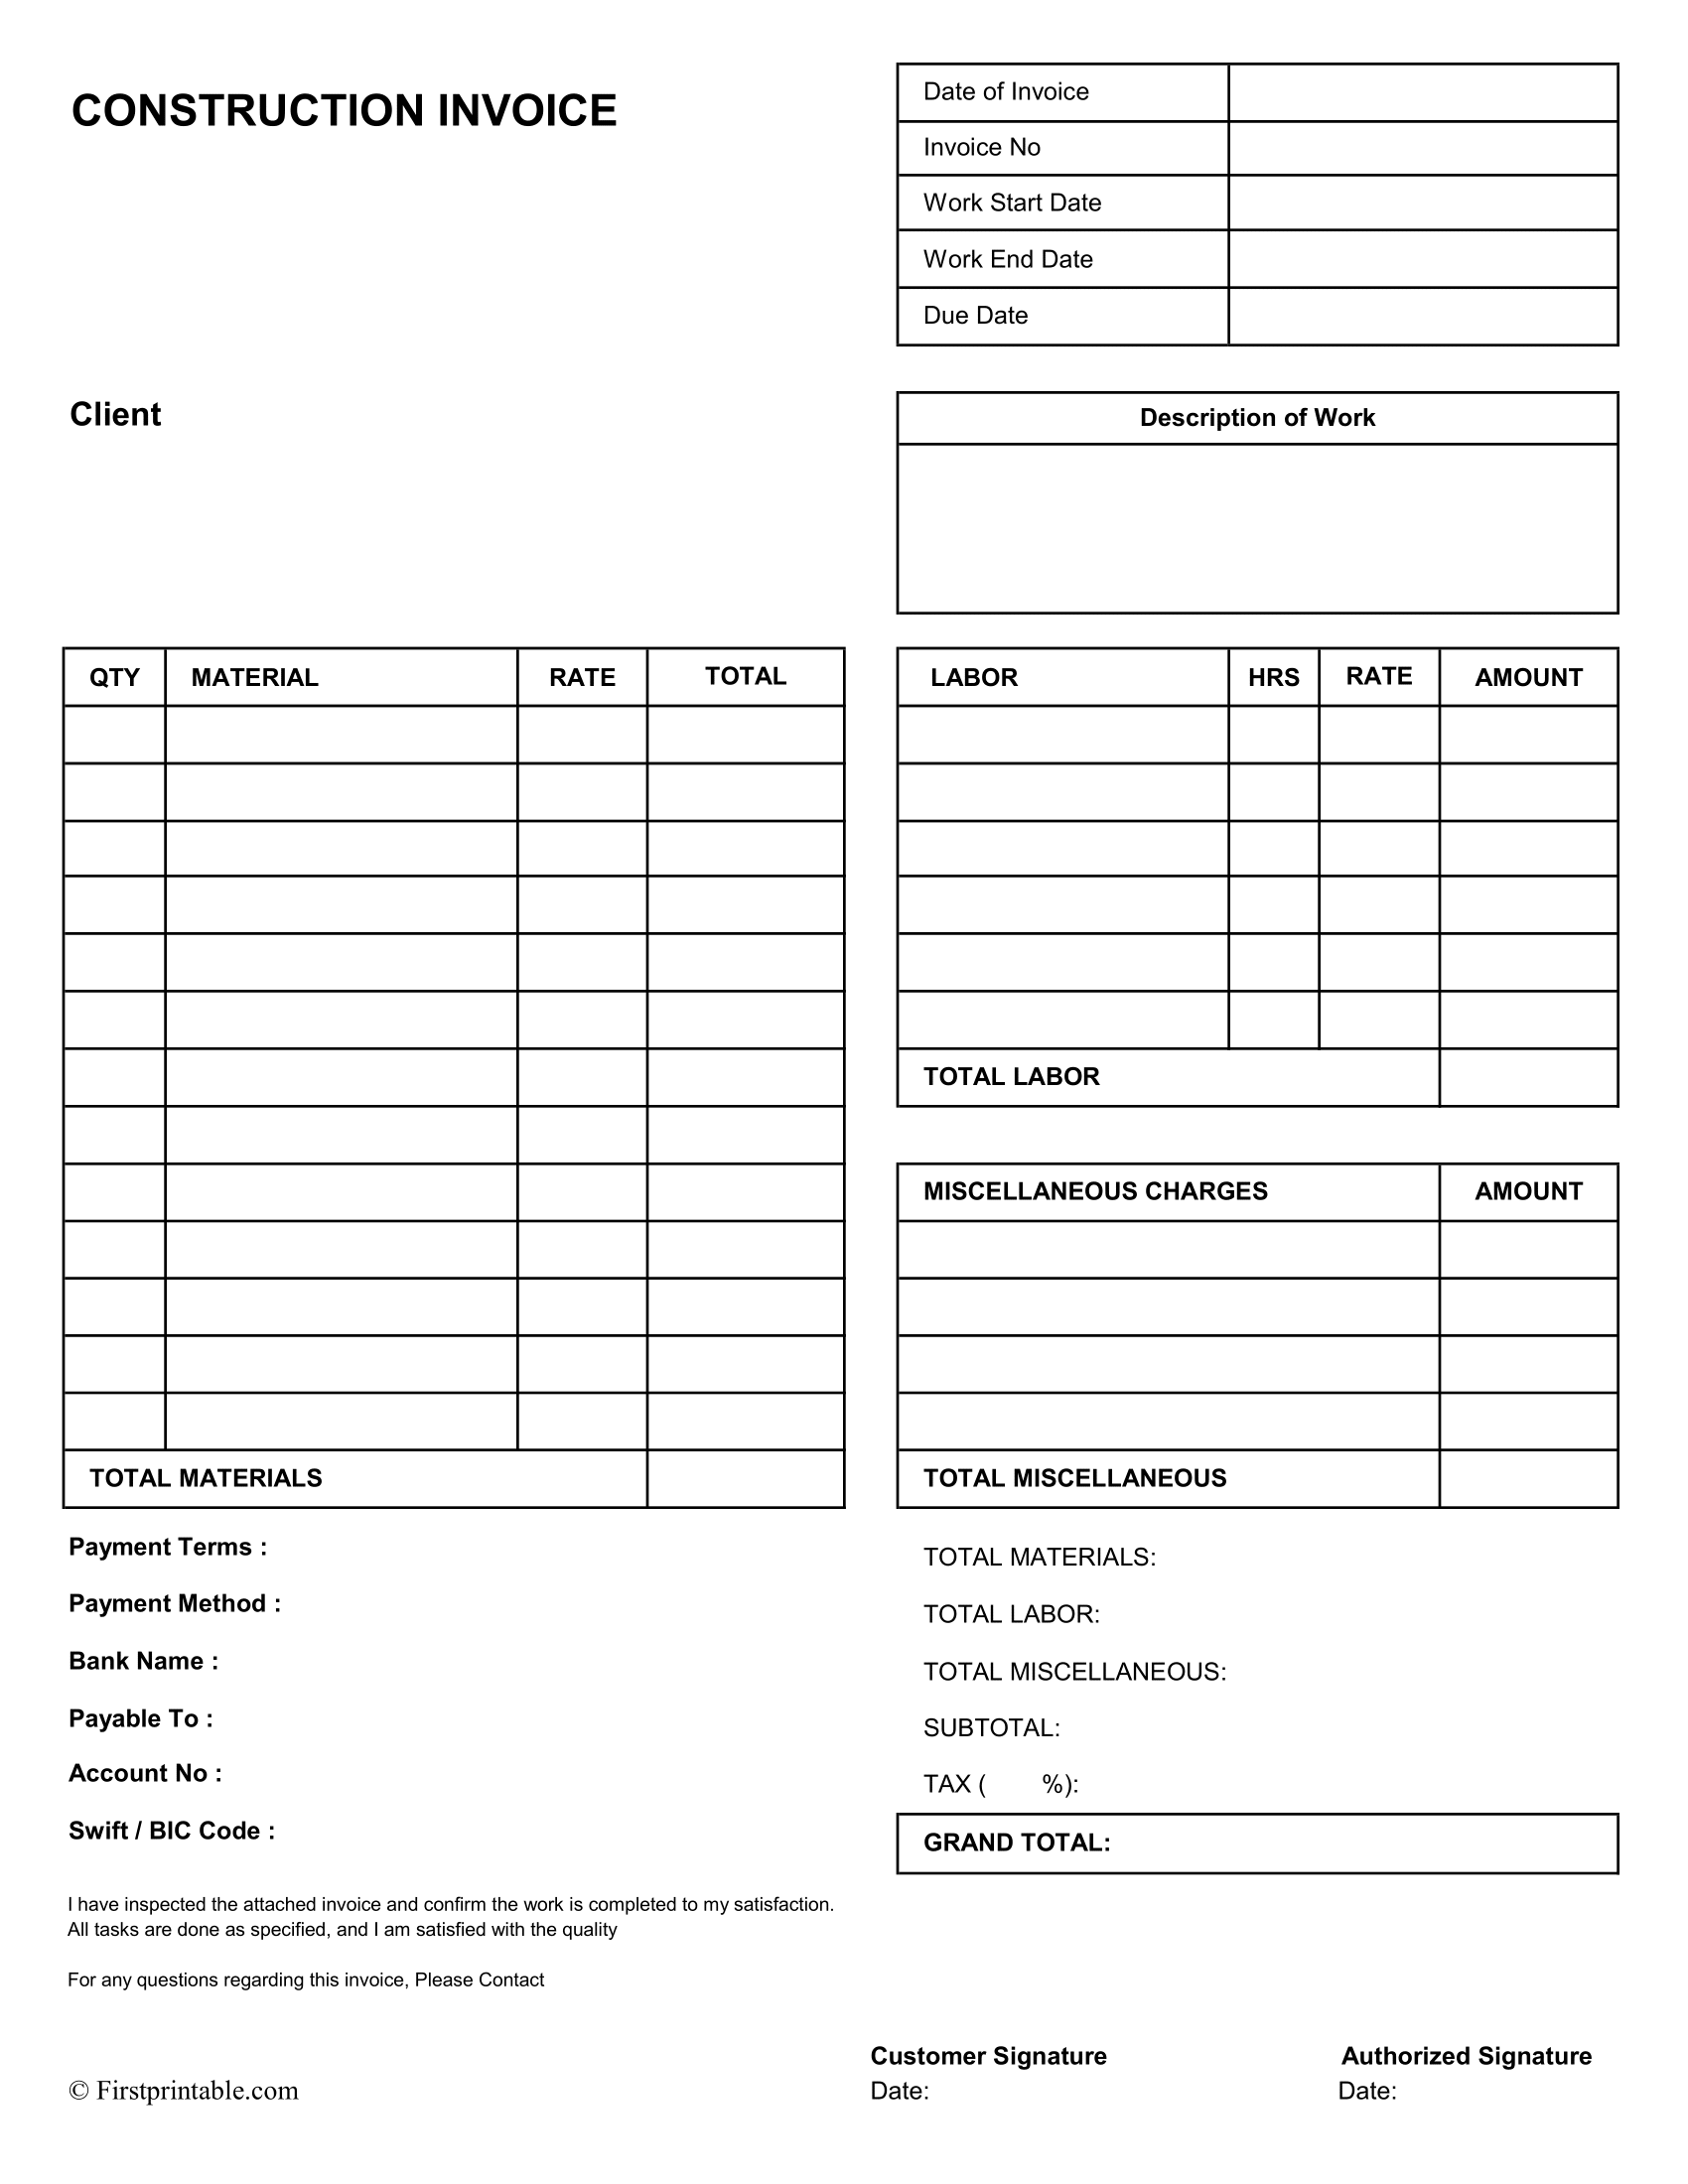
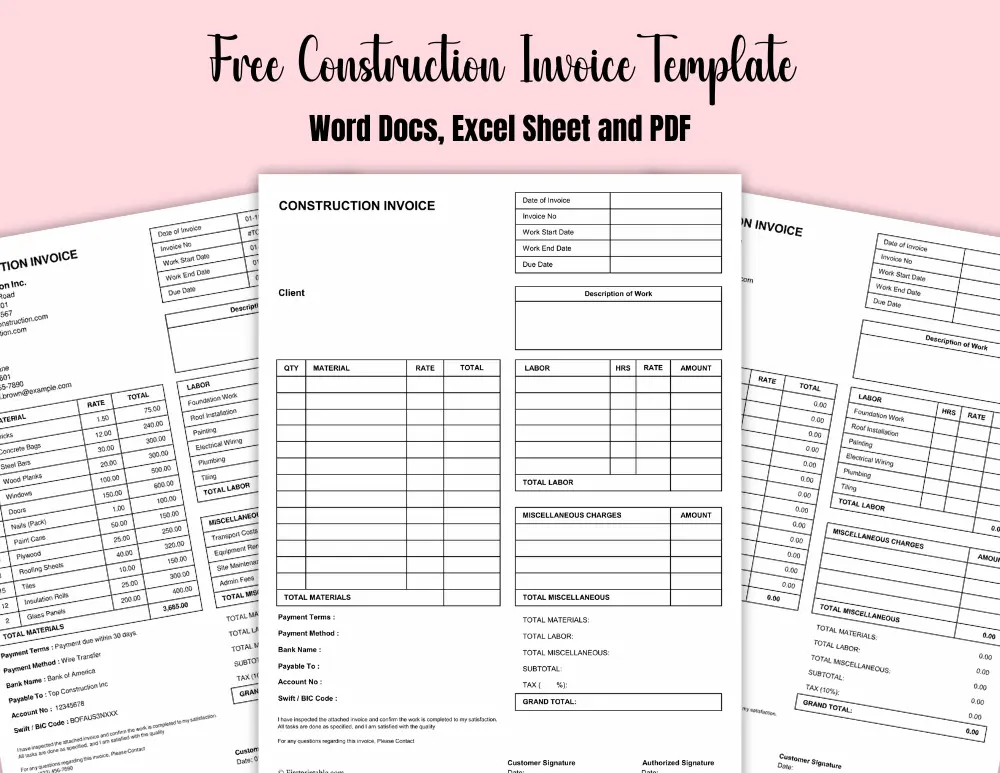
On this page, we have a collection of free printable Construction Invoice Templates below. Whether you prefer a simple or modern design, you’ll find one that suits your needs. Available in Word, Excel, and PDF formats, these templates come with samples and step-by-step instructions on how to create, fill, and send an invoice to your client. It’s easy to use and helps you get paid quickly while maintaining clear terms.
Take a look at these Free Printables and Templates before you go!
Just scroll down below to see all the Free Printable Construction Invoice Template. Pick your favorites or pick as many as you’d like to. You can click on any image or link which automatically opens the PDF file in a new page, from where you can download and print them as many times as you want. These templates come in standard US letter size but will also fit perfectly on an A4 paper.
Please note that these printables are for personal, non-commercial purposes. Redistribution or alteration is not allowed; the selling of these printables is also not allowed.
Free Construction Invoice Templates
These templates are easy to edit. Just choose a template below, download the blank format, and fill in the invoice details by hand or digitally before printing. Once completed, you can send the invoice to your client for prompt payment.
Construction Estimate Template
A construction estimate template is a document that shows a simple breakdown of the estimated costs for materials, labor, and the total project budget. By creating a detailed quote, you can help the client understand the costs and check if they have enough money to finish the project. To see more, visit our Construction Estimate Template Page.
Sample of Construction Invoice
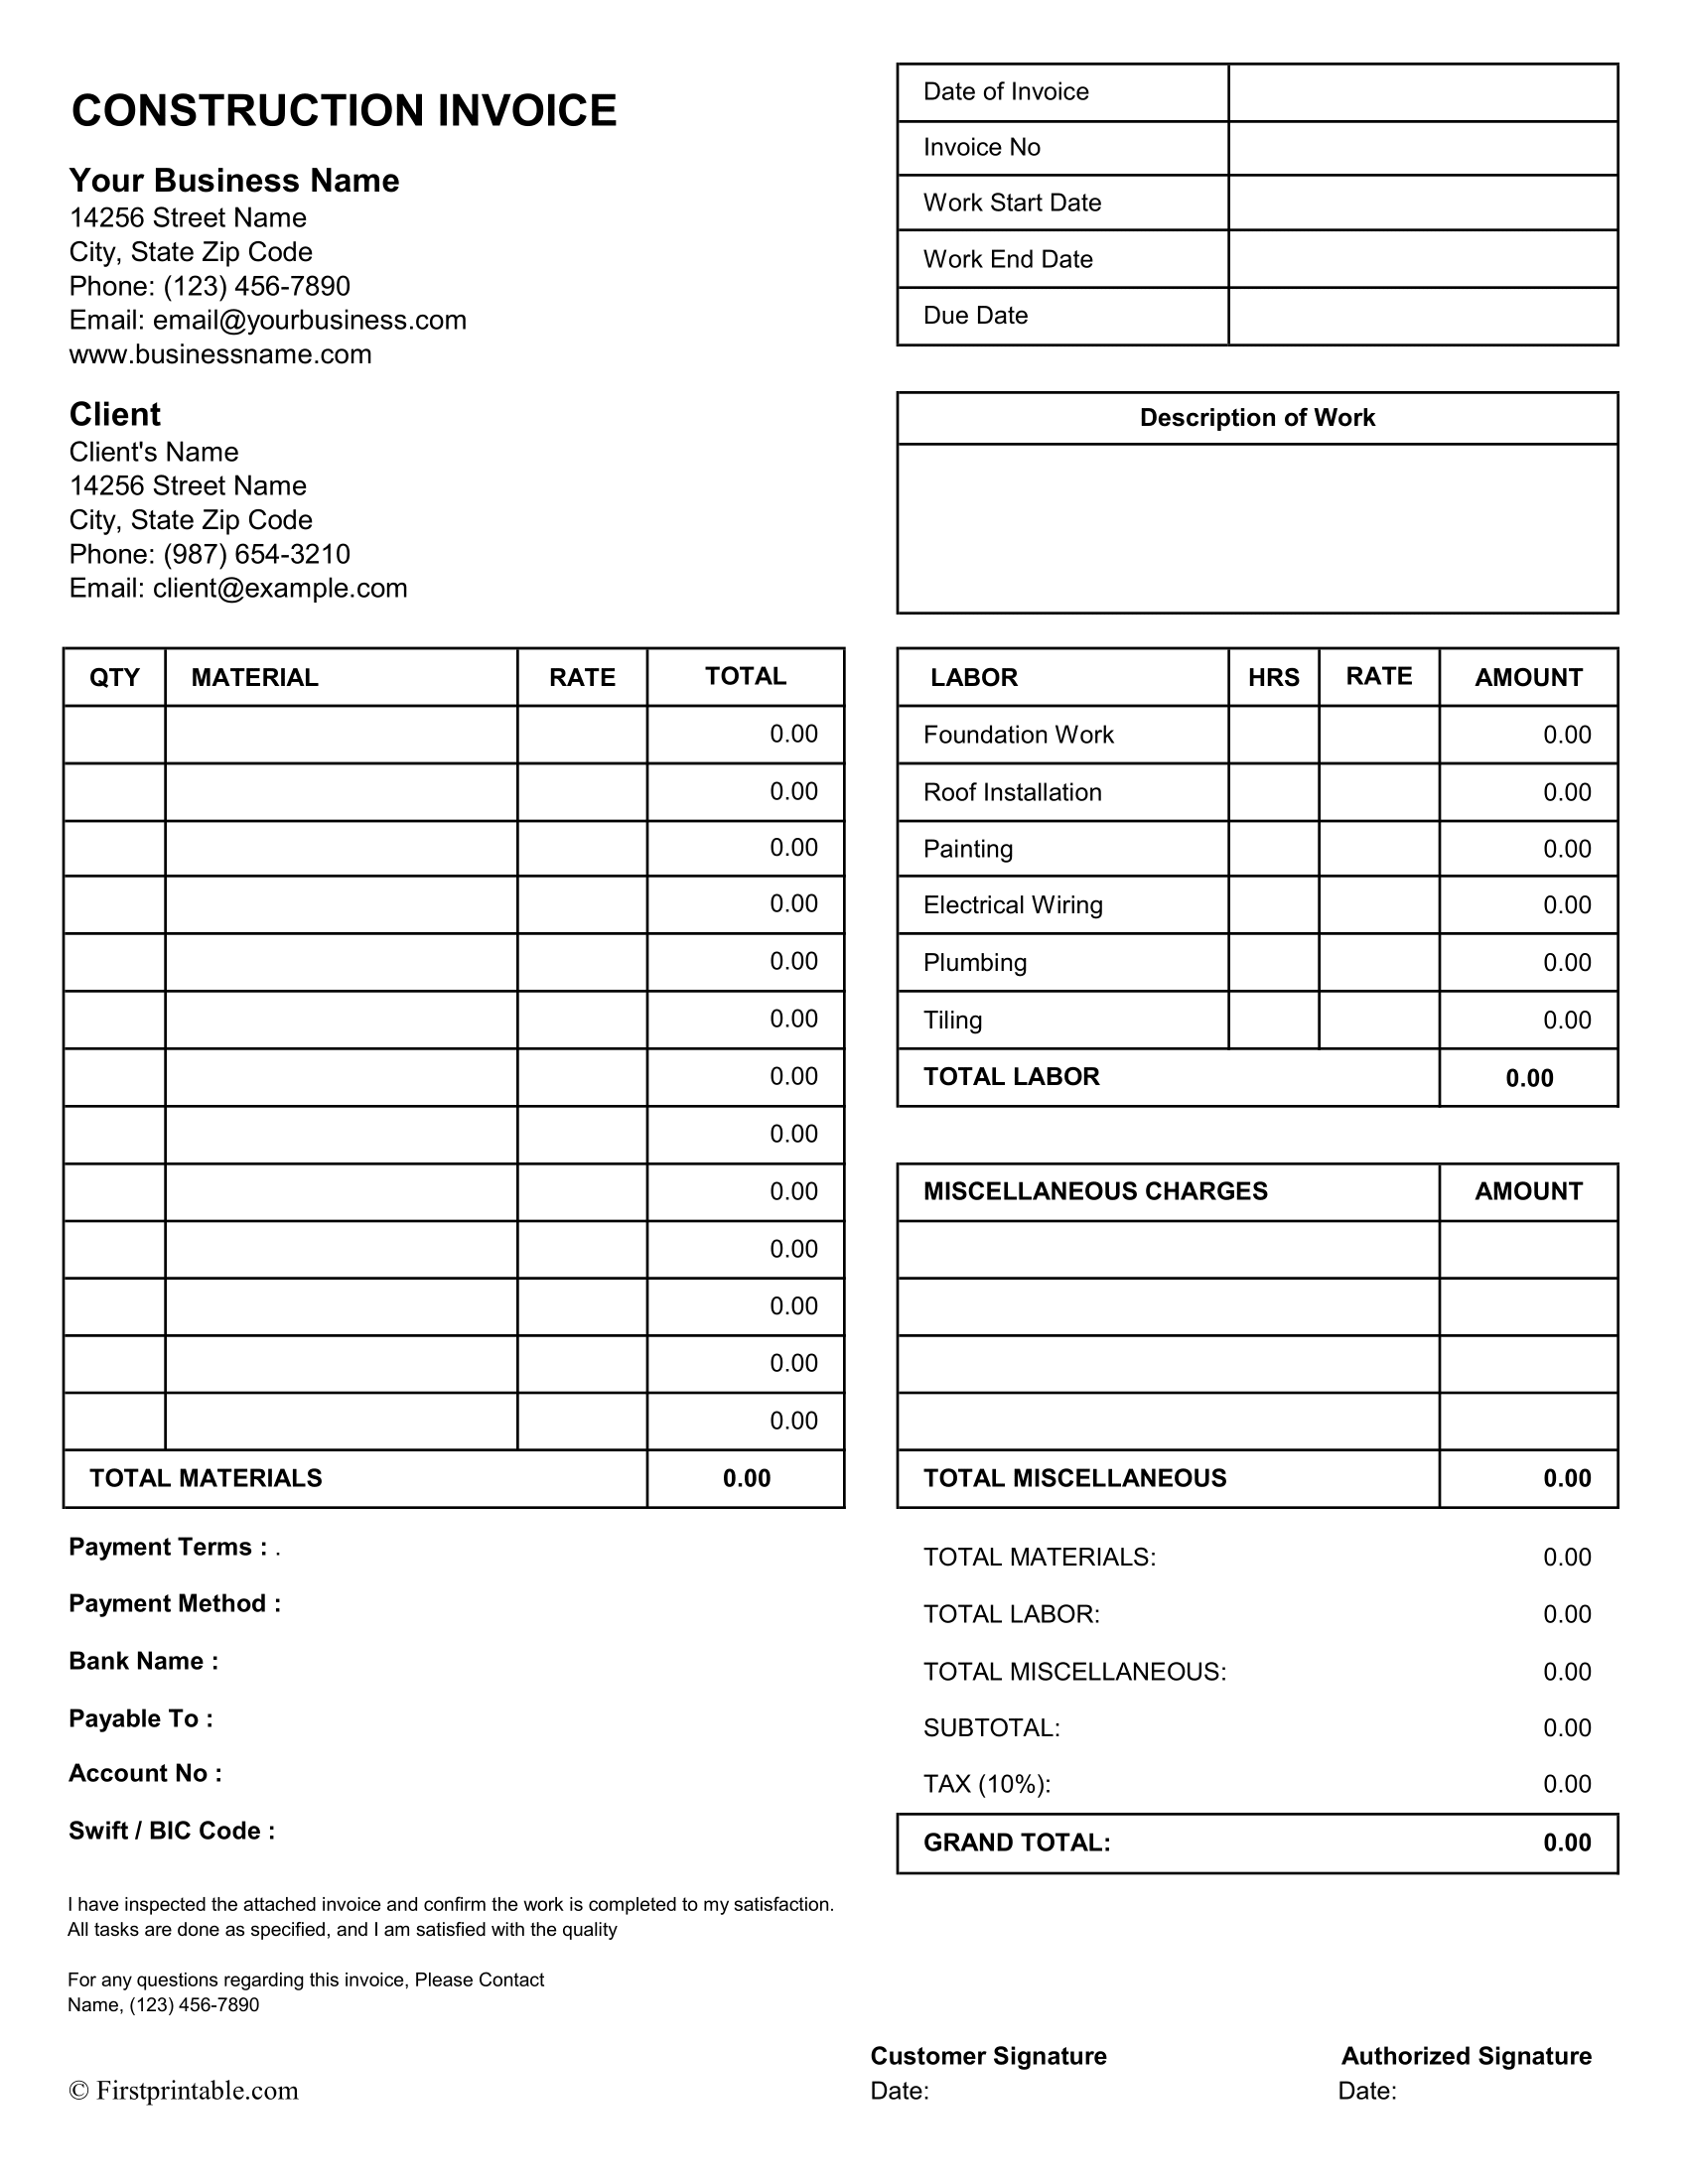
Here is an example of a Construction Invoice to help you get started. Below, you’ll find a simple step-by-step guide to writing your invoice effectively.
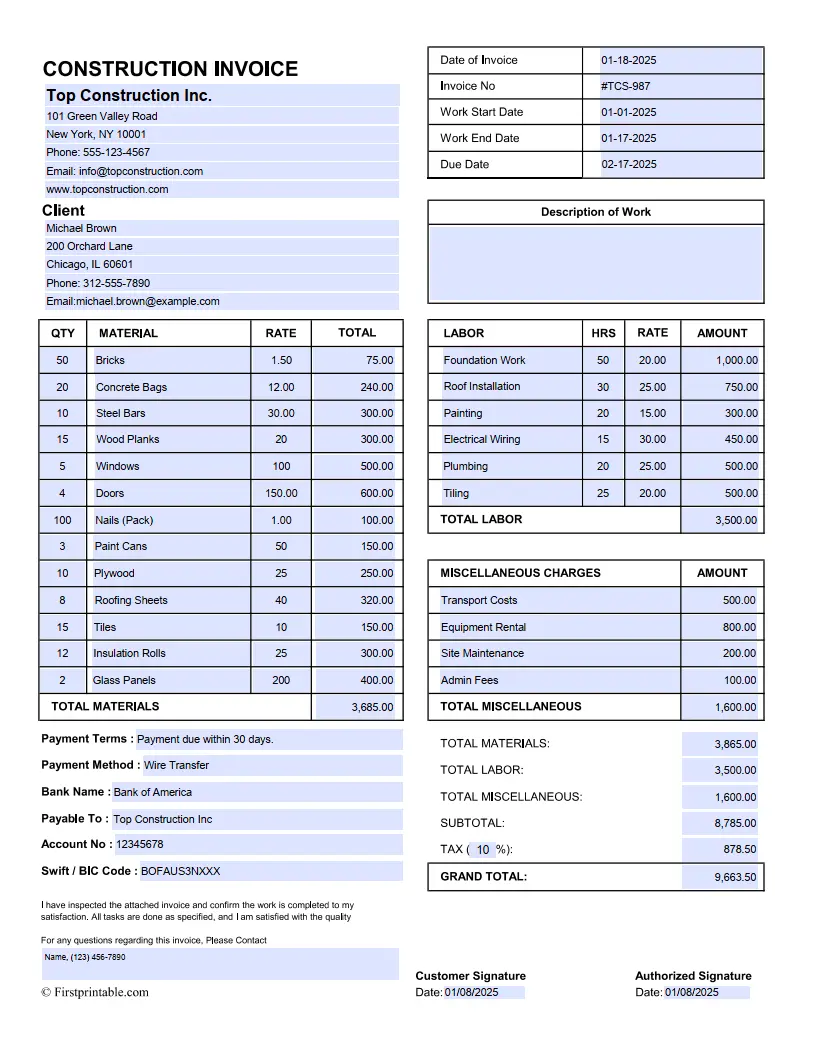
Construction Invoice Sample
More Free Templates
We hope you find these free templates helpful. If you’re looking for more, take a look at our free templates below.
Step-by-Step Guide to Write
The following step-by-step instructions are based on Template 01.
Step 1: Download the Template
- Download the construction invoice template in Excel sheet, Word, or PDF. If you use the PDF, you can fill it out directly on your computer, save it, and print it. If you prefer, you can also print the template and complete it by hand.
Step 2 – Add Your Company Details
At the top of the invoice, enter your company’s details, including:
- Company Name
- Full Address (Street, City, State, ZIP Code)
- Phone Number
- Email Address
- Website (optional)
This ensures your client knows who sent the invoice and makes it easy for them to contact you if they have questions.
Step 3: Add Your Client’s Information
In the next section, fill in your client’s details, such as:
- Client’s Name
- Full Address (Street, City, State, ZIP Code)
- Phone Number
- Email Address
This makes it clear who the invoice is for.
Step 4: Enter Invoice Details
Write the following information to keep the invoice organized:
- Date of Invoice: The date the invoice is created (e.g., “01-20-2025”).
- Invoice Number: Assign a unique number to this invoice (e.g., “#INV-12345”).
- Work Start and End Dates: Enter the start and completion dates for the project (e.g., “01-05-2025 to 01-18-2025”).
- Due Date: The date the client’s payment is due (e.g., “02-19-2025”).
Step 5: Briefly Describe the Project
Use the “Description of Work” section to add a concise summary of the project. For example:
- “Installation of roofing, plumbing work, and interior painting of residential property.”
This provides the client with an overview of the services provided.
Step 6: List the Materials Used
Include all materials used in the project in the “Materials” section. For each material, provide:
- Quantity (QTY): Number of units used (e.g., “50 Bricks”).
- Material Name: Name of each material (e.g., “Bricks, Paint, Pipes”).
- Rate: Cost per unit (e.g., “$2.00 per brick”).
- Amount: Multiply the quantity by the rate for the total cost (e.g., “50 x 2.00=2.00=100.00”).
List all materials, then add up the total and write it as the Total Materials cost.
Step 7: List the Labor Costs
In the “Labor” section, write down all the tasks completed and the associated costs. For each task, include:
- Labor Hours (Hrs): Number of hours spent on the task (e.g., “10 hours for Painting”).
- Rate: Hourly rate for labor (e.g., “$25 per hour”).
- Amount: Multiply hours by the rate to calculate the total cost (e.g., “10 x 25=25=250.00”).
Add all labor amounts together and enter the total as the Total Labor cost.
Step 8: Add Miscellaneous Costs
If there were extra costs outside materials or labor, include them in the “Miscellaneous Costs” section. Examples are:
- Administrative Fees
- Equipment Rental
- Transport Costs
- Site Cleanup Fees
Add all these costs together and enter the total as the Miscellaneous Costs.
Step 9: Calculate the Subtotal
Add up the Total Materials, Total Labor, and Miscellaneous Costs to get the Subtotal. Write this number under the Subtotal section.
Step 10: Tax Calculation
- Write the tax amount here as per the applicable tax rate, if applicable.
Step 11: Calculate the Grand Total
Add the Subtotal and Tax amounts together to get the Grand Total. This is the total amount the client owes.
Step 12: Add Payment Information
Provide all the necessary details to ensure the client can easily make the payment. Include the following information:
- Payment Terms: Specify when the payment is due, such as “Payment required within 30 days from the invoice date.”
- Accepted Payment Methods: Indicate which methods are acceptable, such as “Check, Wire Transfer, or PayPal.”
- Bank Name: Include the bank where the payment should be directed (e.g., “Bank of America”).
- Payable To: Include the name to which the payment should be made (e.g., “XYZ Construction LLC”).
- Account Number: Provide the account number needed to complete the transfer.
- Routing Number or SWIFT Code (if applicable): If a routing or SWIFT code is needed for international payments, include it here.
This ensures that all payment details are clear and the client knows exactly how to proceed.
Step 13: Add Contact Information for Questions
- At the bottom of the invoice, include a statement such as:
“For any questions regarding this invoice, please contact:”
Include:
- Contact Name
- Phone Number
- Email Address
For example: “For any questions, please contact Sarah Johnson at (555) 123-4567 or sjohnson@yourcompany.com.”
Step 14: Review and Send the Invoice
Review the entire invoice to ensure all details are accurate and correct. Once you’ve confirmed everything is complete:
- Save the completed document and print it as a PDF.
- Send it to your client via email or print a hard copy to deliver it in person.
Follow us on Pinterest for more free Printables :
Feel free to comment if you have any questions or need further assistance. In the meantime, if you liked this post, show your support by saving it to using the ‘Pinterest Save’ button below!

